Wednesday 15 August 2012

How the fighter is shaping up.

It has been an absolute age since I last updated my Blog. This is due to a mixture of not spending enough time on my MA because I have been incredibly busy at work and also laziness when I got home. However, I haven't been totally ducking my MA work and I have actually finalised the design of  this "fat fighter".

Here are some sketches that I did in Sketchbook Pro on my Mac. I'm really, really liking the app and prefer to draw and paint in it over Photoshop. I did some test painting on my ipad but I'm not very happy with the results. So here are the sketches....


This turnaround had the proportions that I was happy with. He is supposed to look like a bit of a thug gone to seed. He's still imposing with huge arms, massive fists and a colossal neck/trapezius. And a pot belly. I asked Mark Penman for some feedback and he was very helpful and gave me the following.

So obviously, some work was needed on making the character symmetrical and the side profile was all wrong. So, after a few more tweaks, I came up with the...


The front view looks much better and the side view is improved but I was still not very happy with it. So some more work was needed. Also I was not happy with the head - it lacked detail. So those were the parts that needed some attention.


This turnaround was looking much better with the addition of a more detailed head on the front and side view and the posture of the side view was much improved too. I decided that I should work the head up in a little more detail.


I am happy with how this was shaping up. And this will be the basis of my modelling. Now for the head.
So the above image was the first attempt at fleshing out this fighter. Not bad but thought the nose looked too wide.

After a few tweaks.

Then darked the skin tones a little and removed the double chin. Not entirely sure what to do about that, whether I should have a huge wobbly double chin with lots of folds or more like this.

Here is my first attempt at painting the side profile.

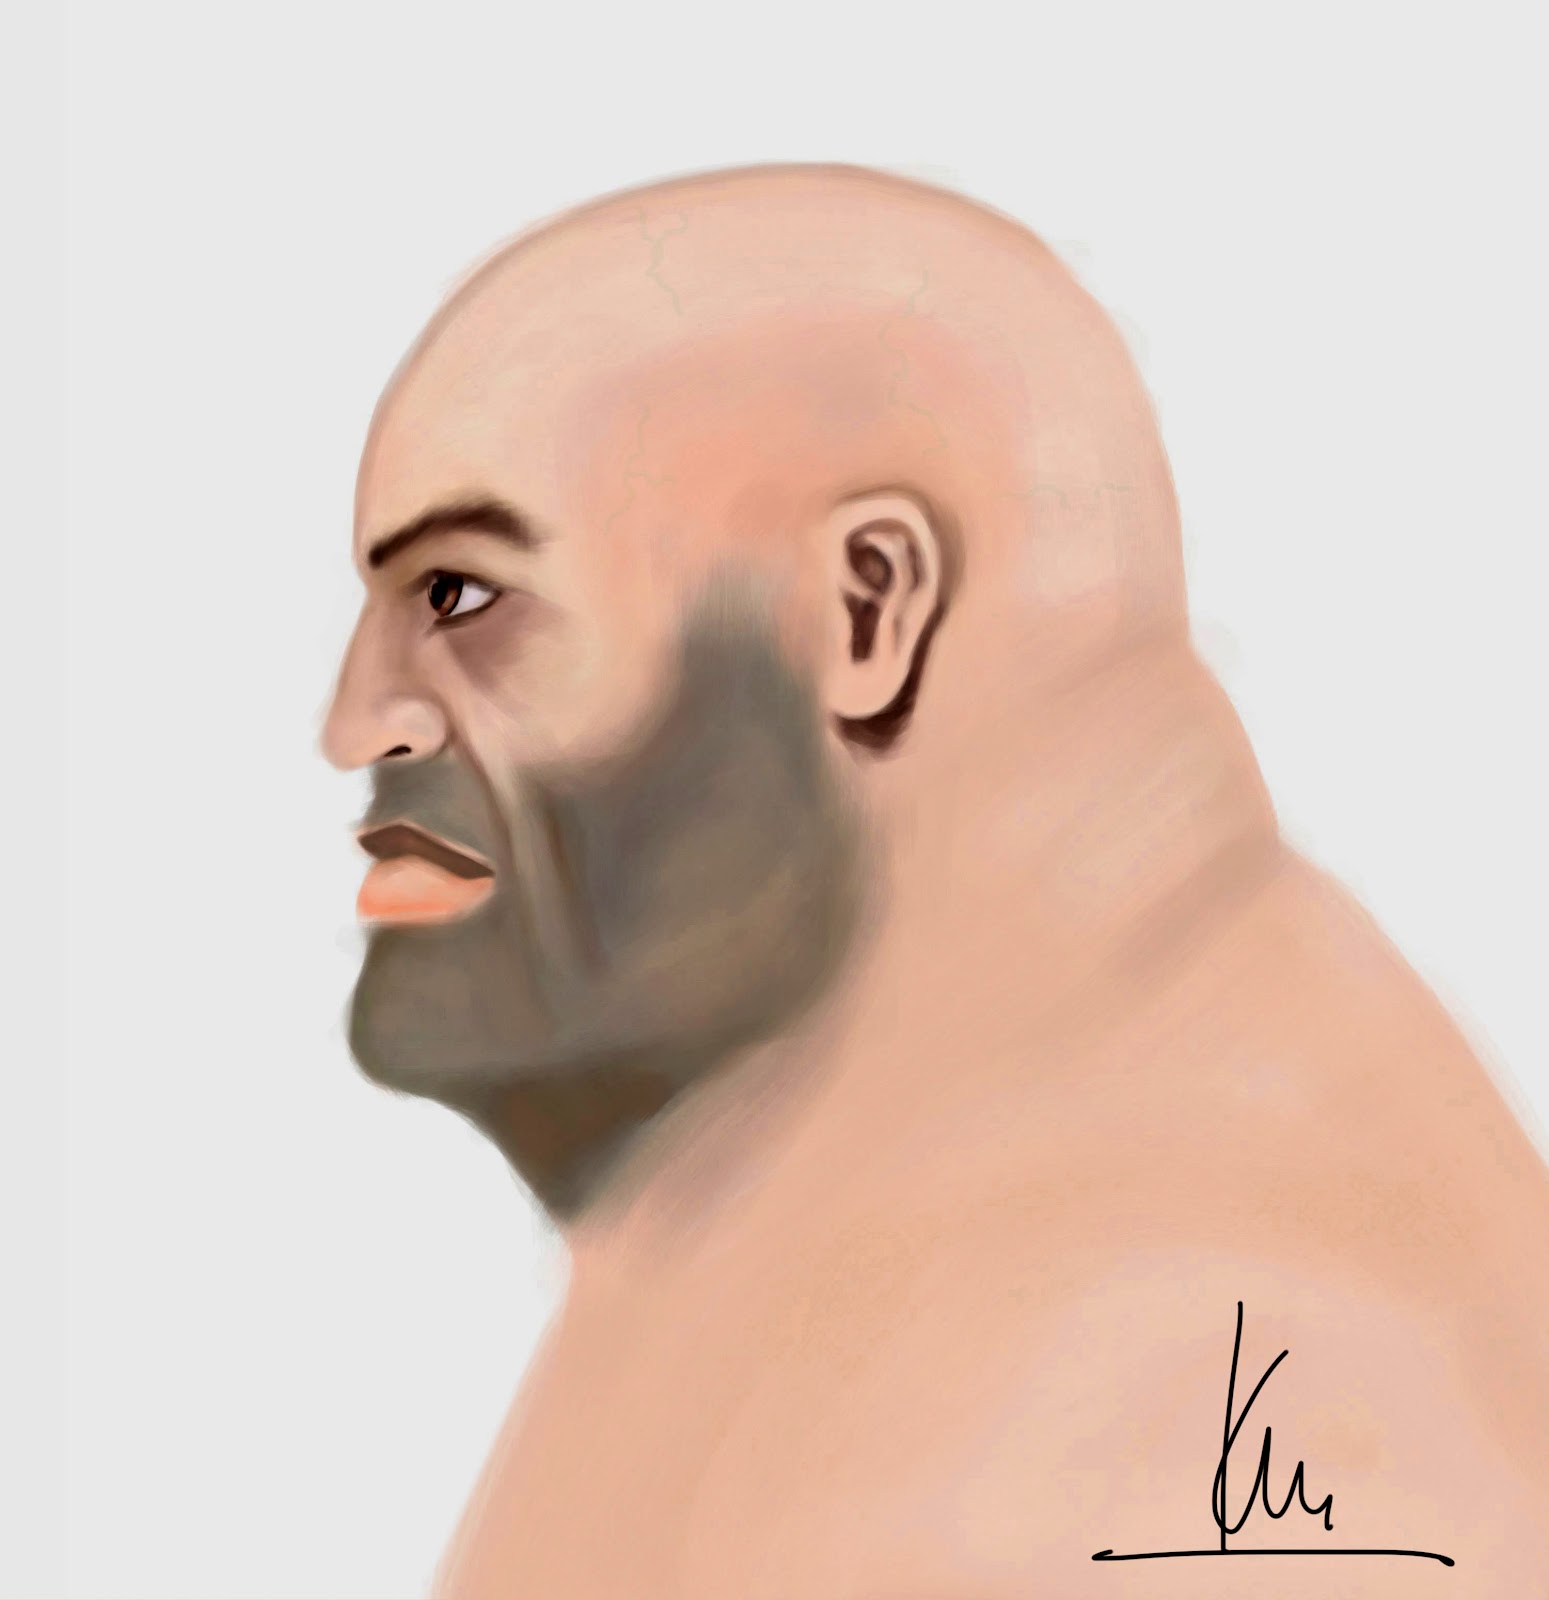
It looked much better darkened up. But not sure about how the chin would look from the side. I think that I am happy with this look and not have him have folds upon folds of fat on him.


So here is the finalised front view with a tweaked nose and improved eyelids. I think that this is the look that I will use on painting of the textures too. Overall, I'm happy with the look of this fat fighter and I am looking forward to the modelling of him. I will create a couple of versions. One sub 3000 polys and one around the 1000 poly mark with tutorials to create them. Now that will be the tricky part. 

There's lots of work ahead of me but I'm certainly in the right frame of mind to crack on with it.

Thanks for reading.


Tuesday 20 March 2012

Here's another little sketch

Just thought that I'd do another little sketch before I get the turnarounds done.

Saturday 17 March 2012

Added some colour

Just added a bit of colour to it with my iPad while I was sitting at Snakes and Slides waiting for the kids.

Friday 16 March 2012

Sketches

Here's a quick sketch of the fighter. I had a go at making a much more extreme caricatured version but it just didn't sit right. So here it is. Quite happy with how he's looking. More to come....

Wednesday 14 March 2012

Painting....moi?

I thought that I'd resurrect my Blog and carry on with it on the remaining time on my Masters. After Josh came down to see us at Futureworks Towers, I'd decided to model my next fighter - based on Eric "Butterbean" Esch. My character is going to be over the hill, fat but still a bruiser.


Also instead of doing another realistic character using photo manipulation for the textures, I'm going to be doing some more painterly stuff. I was really inspired by an animation that Mark Penman showed me called Meet Buck. I really like the look of the texturing of one of the main characters, seen below.


Another influence would be Valve's TF2 characters that are very similar in their cartoony painted look.


So now I have a firm direction to go. So I set about doing some painting tests on my iPad as well as on my computer. So here they are....

The main dude in Meet Buck
Repainting the texture for my previous street fighter in a "painterly" style.


Saw this pic of Rupert Murdoch in the press and wanted to do a paint over....love his creases


Then a quick sketch of my 8 year old on my iPad.


Finally on topic - having a play with doing Butterbean based on some photos taken off the interweb.
One more realistic in proportion, the other a cartoon version. Both done on the iPad.


Finally settled on a style of painting that I'm happy with. This was done on SketchBook Pro on my Mac. This Butterbean based on another pic off the web. I'm happy with this style and think that I'll be doing something like this. Might even take a look at some Lucien Freud paintings for more inspiration. 

That's it for now. More to come....


Thursday 15 December 2011

Video capture...

Not entirely sure if this video capture will work. But here goes anyway - this video shows the mocap data in its raw state and after a few iterations of clean-up using Character Studio's Layer system to overlay keyframes and then collapse them all down afterwards.


Well the video resolution was rather poor and it was certainly less than I captured it at.
Okay so here's the next video demonstrating how the weighting on the character is working so far. 

Here's a link to Youtube - for a higher res video.

There will be a couple more videos to upload tonight, after the kids goto sleep and I can capture with some piece and quiet.


Here's a link to Youtube - for a higher res video.


Here is the final video capture showing some muscle deformation using the Bulge Angle Deformer in the Skin modifier. I created a couple of simple animations to test the joints but I wasn't able to get the Morph Angle Deformer to work with my current version of 3DS Max. I will investigate to see if I can get a patch for this as I think this is the way to sort out the joints as you create morphs by stacking edit poly modifiers on top of the skin modifier and it means you can shape the verts precisely and not have to work with a control lattice which is how the bulge angle deformer works.


Here's a link to Youtube - for a higher res video.

Thursday 8 December 2011

Have to tweak the shoulders

I decided to test out the shoulder and was struggling with positioning the upper arm bone and the clavicle in particular to get some decent deformation on the shoulder joint. It seemed that no matter how much I tweaked the envelopes and paint weighting, the shoulder just seemed WAY too wide.


In the end, I decided to remodel the shoulders going from the image below....


to the bottom image here. 


This gave a much better result. I will upload some more pics of the shoulder in motion and I thought that it was going swimmingly.

I went up to UCLan on Wednesday afternoon to see Mario and I got some mocap done. I was surprised at how small the mocap suit was. Anyway I managed to capture some data but not sure how good it would be. I did notice that the capture software was set up in a very odd manner - with only a single spine link and 2 neck links. Apparently that's how it comes and it's not adjustable. So not that impressive for a £50k system.

After bring the BVH files into 3DS Max, I found the data to be pretty dirty. Here are a couple of images showing the drooping clavicles and the turned in elbows.


So I decided to get the rigging done to the best of my ability for the first stage. I did a torso twisting animation whilst crouched down and it seemed to work okay. This was using just the envelopes and paint weighting. I haven't gone into vertex weighting yet - so not bad. 


The next step will be to do some more aggressive poses and animations to test the shoulder joints and then to see if I can get some muscle bulges into the biceps and triceps as a start. I have a feeling that the pec and lat muscles are going to be tricky to emulate.

Oh - I must have a go at a breathing animation showing his rib cage rising and falling! Okay that's all for now.